Download TWRP Recovery File for Redmi 9A: Hello friends, today in this article I will tell you about the TWRP Flash official method if you are looking for a complete guide tutorial for this you have come to the right place and Download TWRP For Redmi 9A, USB Drivers, MI unlock Tool, ADB Fastboot tool, SDK Platform Tool, In-Depth test app, Magisk zip File
Before Proceeding to your device, please read the disclaimer below so you know exactly what you’re getting yourself into. Keep in mind How to Flash the official TWRP Recovery on Redmi 9A
Advantage of TWRP Recovery For Redmi 9A
TWRP Recovery is allowed to flash Custom Recovery images for Android-based devices. It provides to install Stock firmware and Custom ROM.
- Custom ROM Installation: TWRP allows to install Custom ROM on their devices and customization options.
- Backup and Restore: TWRP Provides a full backup and Restore feature on Redmi 9A. Users can create full system backups, including the operating system, apps, and data.
- Advanced Wipe: TWRP Provides advanced wipe options, allowing to wiping of specific partitions on the Redmi 9A device.
- Customization: TWRP supports, customizing the appearance of the recovery interface.
- Root Mode: Enable to Root and Unroot using TWRP Recovery
Disclaimer: Androidnifty will not be responsible for any damage or error to your device while/after installing the TWRP Recovery Image or following this guide. Make sure to take a complete backup of your Redmi 9A before doing anything. Do this at your own risk.
Pre Requirement for Install TWRP Recovery on Redmi 9A
- Charge Your Device: Minimum charge your device 75% before Install TWRP Recovery
- Laptop, Computer, or PC: Enter commands in a device, we will need a laptop or PC.
- Backup: Take a Complete Backup before Install TWRP Recovery on Redmi 9A
- Enable Developer Option: Go to Redmi 9A Setting and Enable Developer, Debugging, OEM Unlock
- Bootloader unlock: The Bootloader Should be unlocked on the Redmi 9A
Download Require Files:
- MI USB Drivers: Download Now
- Mi Unlock Application: Download Now
- Redmi 9A TWRP Recovery File: Download Now
- SDK Platform Tool: Download Now
How to Flash TWRP Recovery on Redmi 9A
Before going to the Install TWRP Recovery process, make sure to follow all the pre-requirements mentioned above properly. After downloading all the required files, drivers, and tools, follow the installation step.
1 Go to Redmi 9A “Settings” > “About phone” > tap on “Build number” seven times and Enable USB Debugging, OEM Unlock

2. Then, the next step is Redmi 9A bootloader unlock (Complete Guide)
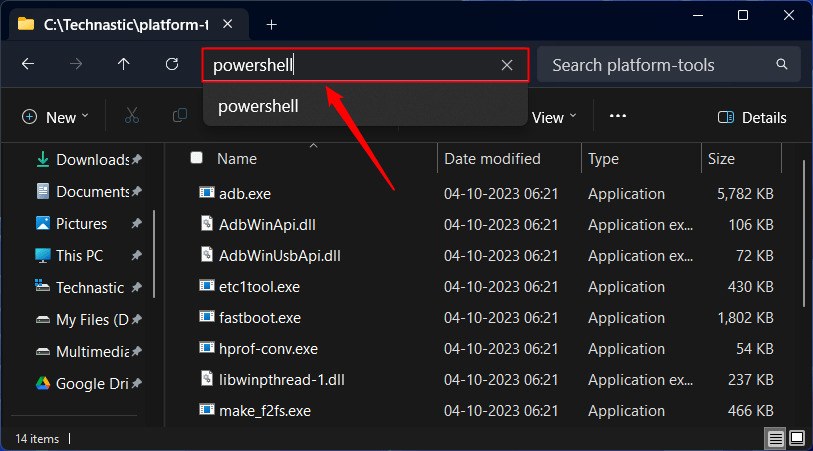
3. Next, Download and Extract the Platform Tool and open it on your computer.
4. Then type in “CMD” or “PowerShell” in its address bar and hit Enter command prompt to show
5. Turn off your Redmi 9A device and Press and hold the Volume Up + Power button for a few seconds to enter into Fastboot mode.
6. Connect your Redmi 9A device to the computer via a USB cable
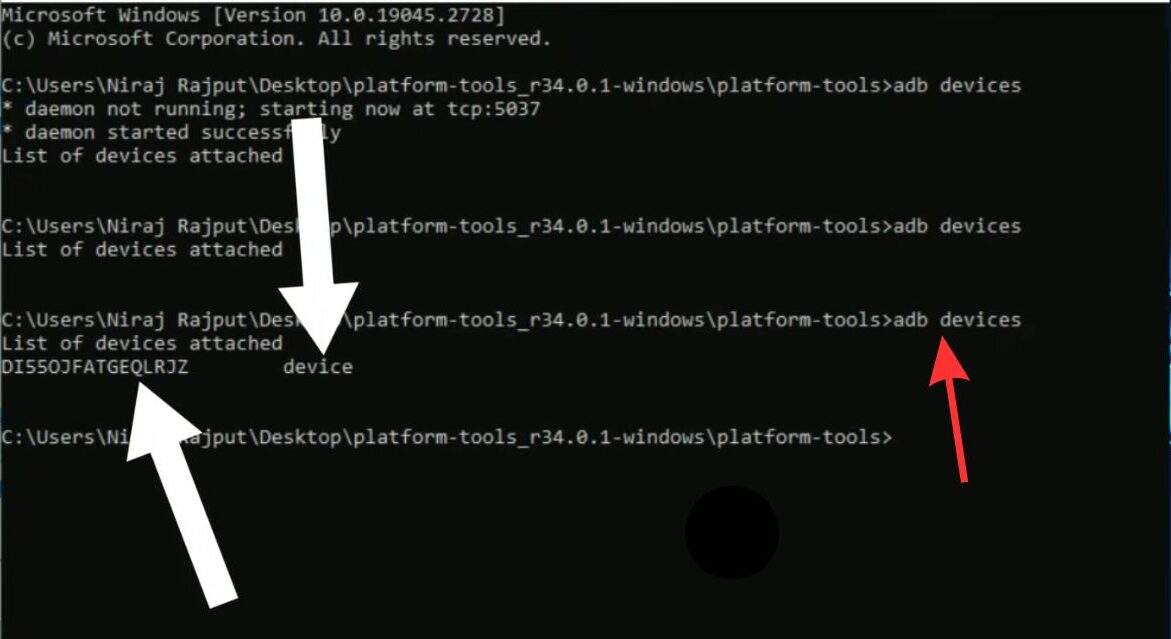
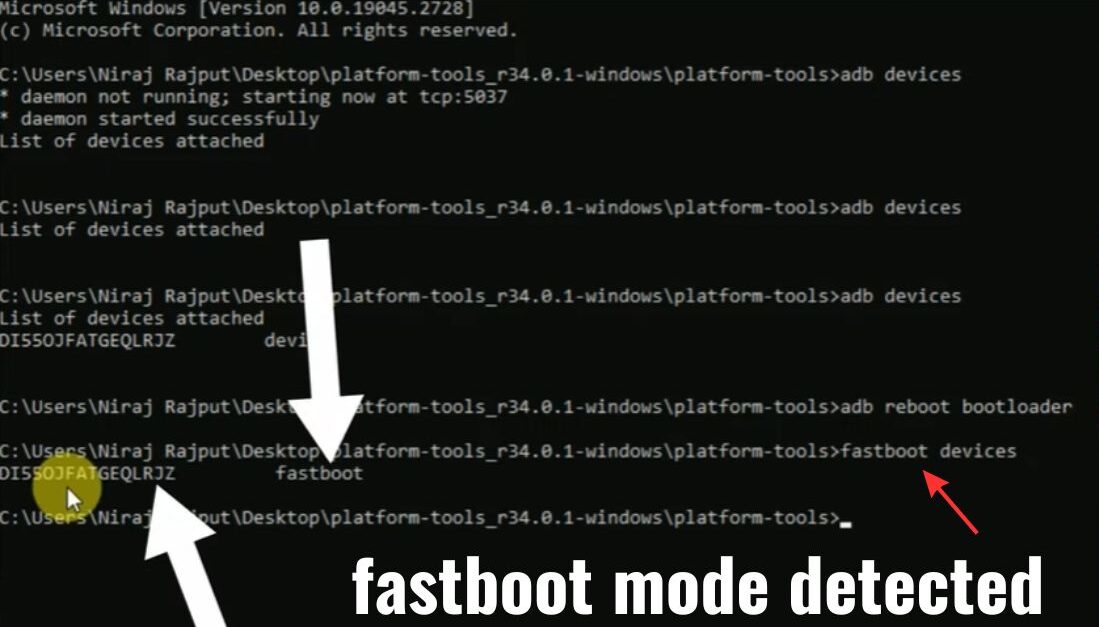
7. Type command adb devices and check your device is connected or disconnect
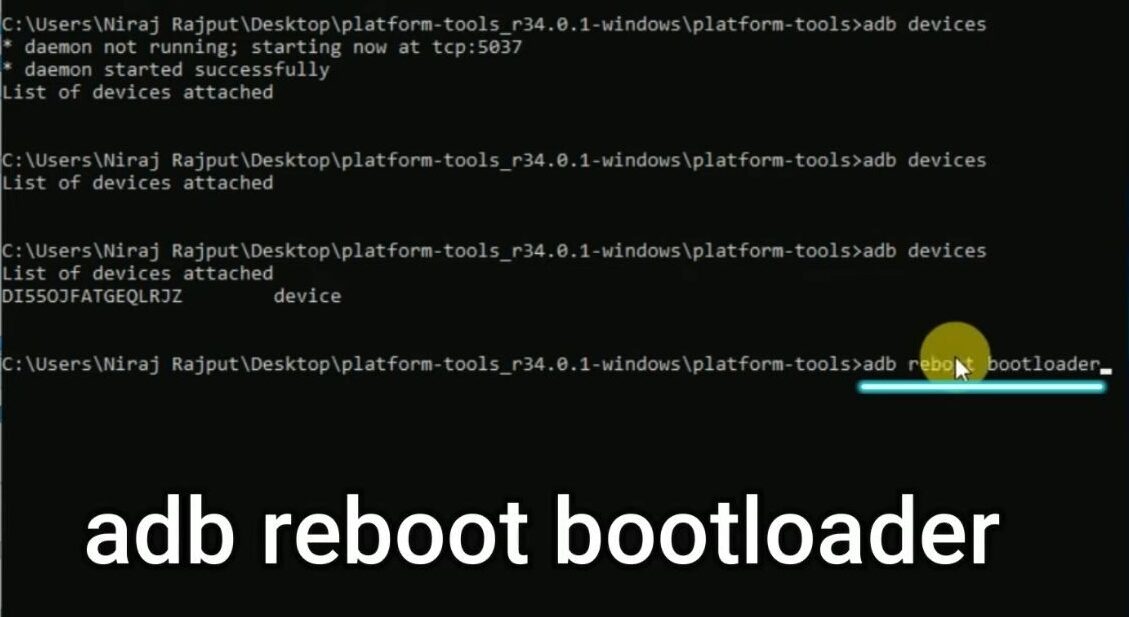
8. Type the adb reboot bootloader code on the command windows and hit enter
9. Now, your Redmi 9A device is connected successfully as a Fastboot Mode.
10. Next, Type the fastboot devices command and hit enter to check Redmi 9A device is connected or not
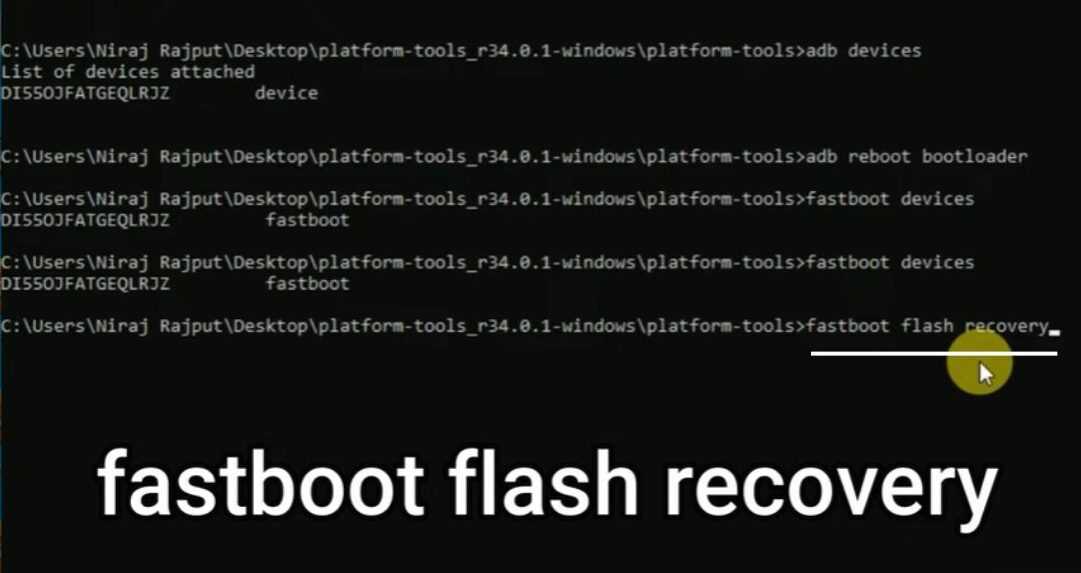
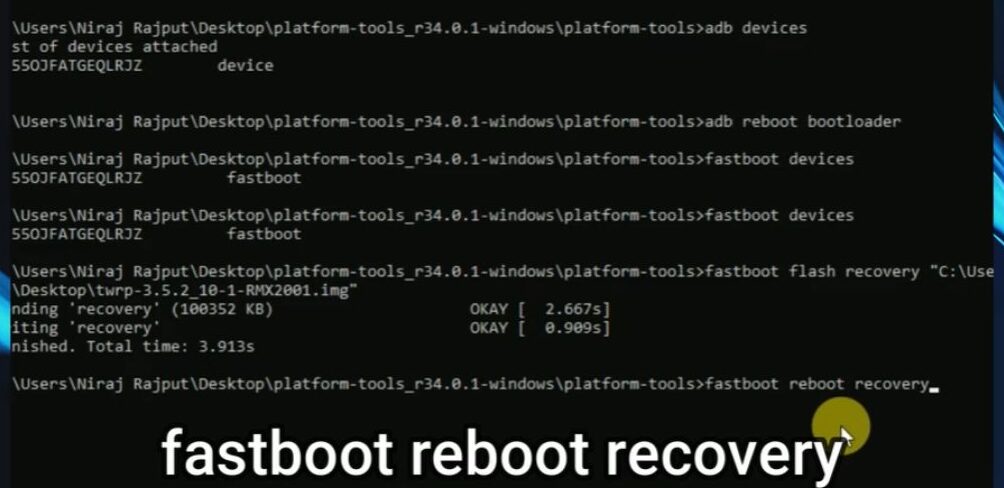
11. Now, to install TWRP Recovery on your phone, type the fastboot flash recovery twrpname.img (twrpname.img that means TWRP file location name) command and press enter
12. Next, in the last Command type fastboot reboot recovery then enter
You have successfully Installed the TWRP Recovery on the Redmi 9A device
Conclusion
There are many ways to Install the TWRP Recovery on a Redmi 9A phone, but the easiest way is to use a Computer. Many processes can be used but they are a bit difficult and none work that much better overall this is the easiest way to Install the TWRP Recovery Redmi 9A phone.
Thank you for visiting androidnifty.com. We look forward to mentioning the desired outcome or engagement and being a valuable resource for you.